In the video titled “How to Make Crepes Using a Blender Crepe Recipe,” Natasha’s Kitchen shares an easy and foolproof method for making delicious crepes. The video shows step-by-step instructions on how to blend the simple ingredients together in a blender to create the perfect crepe batter. It also demonstrates different pans that can be used to cook the crepes and various filling options. Whether you prefer sweet or savory crepes, this recipe is sure to impress with its simplicity and versatility.
Natasha’s enthusiasm is contagious as she guides you through the process, making you feel like a crepe-making pro. She emphasizes that no fancy equipment is needed – just a regular nonstick skillet will do the job. The video also provides tips and tricks for achieving the best results, from flipping the crepes to different folding techniques for serving. With this straightforward recipe, you’ll be able to enjoy delicious homemade crepes anytime, with your choice of fillings and accompaniments.
How to Make Perfect Crepes: A Comprehensive Guide
Crepes are a versatile and delicious dish that can be enjoyed for breakfast, brunch, or even dessert. With their thin and delicate texture, crepes can be filled with a variety of sweet or savory fillings, making them a crowd-pleasing option for any meal. In this comprehensive guide, we will walk you through the process of making crepes from scratch using a blender crepe recipe. No fancy equipment required – just simple ingredients and a little bit of patience. So let’s get started and learn how to make the perfect crepes that are sure to impress!

Ingredients
Before we dive into the step-by-step process of making crepes, let’s gather all the ingredients you’ll need. Here’s what you’ll need to make a batch of delicious crepes:
- Water
- Milk
- Eggs
- Butter
- Flour
- Sugar
- Salt
These basic ingredients can be easily found in your pantry or local grocery store, making it convenient to whip up a batch of crepes at any time. Once you have all the ingredients ready, we can move on to blending the crepe batter.
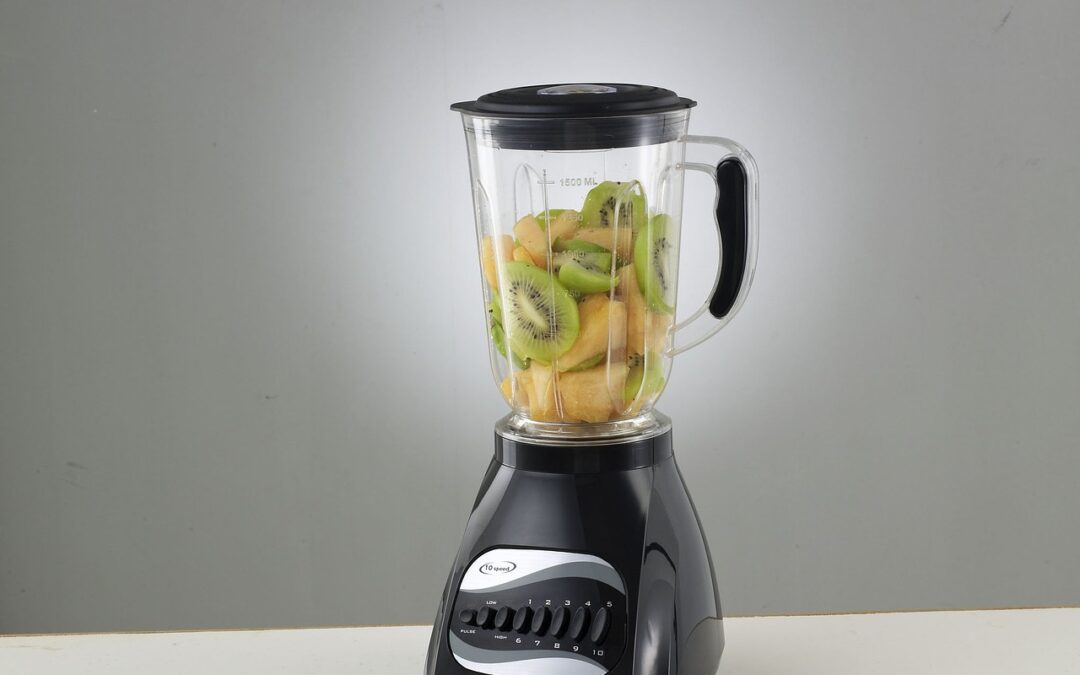
Blending the Crepe Batter
The secret to achieving a smooth and lump-free crepe batter lies in using a blender. Blending the ingredients together ensures that they are evenly incorporated, resulting in a perfectly textured batter. Here’s how you can blend the crepe batter:
Step 1: Add Ingredients to Blender
Start by adding the wet ingredients to the blender. This includes 1/2 cup of lukewarm water, 1 cup of warm milk, 4 large eggs, and 4 tablespoons of melted unsalted butter.
Step 2: Blend Ingredients Together
Next, add 1 cup of all-purpose flour, 2 tablespoons of sugar, and a pinch of salt to the blender. Cover the blender tightly with a lid and blend on low speed until the mixture is well-combined. Make sure to scrape down the sides of the blender as needed to ensure all the ingredients are properly incorporated.
Step 3: Adjust Consistency if Needed
Once the batter is blended, check its consistency. It should be thin and pourable, similar to the consistency of heavy cream. If the batter is too thick, you can add a little bit of milk to thin it out. On the other hand, if the batter is too thin, you can add a tablespoon or two of flour to thicken it slightly. Remember, the consistency of the batter plays a crucial role in achieving the perfect crepe texture.
Choosing the Right Pan
The type of pan you use to cook your crepes can greatly affect the outcome. While there are different options available, such as nonstick pans and cast iron pans, it’s essential to choose a pan that evenly distributes heat and prevents the crepes from sticking. Here are a few options to consider:
Nonstick Pans
A regular nonstick skillet is a popular choice for cooking crepes. Its nonstick coating ensures that the delicate crepes don’t stick to the pan, making flipping and removing them a breeze. Additionally, nonstick pans typically heat up quickly and distribute heat evenly, resulting in evenly cooked crepes.
Cast Iron Pans
For those who prefer a more traditional approach, a cast iron pan can be used to cook crepes. Cast iron pans retain heat well and provide even heat distribution, resulting in perfectly cooked crepes. However, it’s worth noting that cast iron pans require a little more butter or oil to prevent the crepes from sticking.
Other Options
While nonstick and cast iron pans are the most commonly used options for cooking crepes, you can also explore other alternatives based on your preference. Some people prefer using specially designed crepe pans, which typically come with tools to help spread the batter and flip the crepes. Ultimately, the key is to choose a pan that allows for even heat distribution and prevents sticking.
Cooking the Crepes
Now that our crepe batter is ready and we have chosen the right pan, it’s time to start cooking the crepes! Follow these simple steps to ensure that your crepes turn out golden and lacy:
Step 1: Preheat the Pan
Place your chosen pan over medium heat and allow it to heat up for a few minutes. This step is essential to ensure that the crepes cook evenly.
Step 2: Pour the Batter
Once the pan is heated, add a small dot of butter or oil to the pan. If you are using a nonstick pan, you may not need much butter or oil since the crepe batter already contains melted butter. Next, pour approximately 1/4 cup of crepe batter into the pan.
Step 3: Cook the Crepe
Swirl the pan immediately after pouring the batter to ensure an even coating on the bottom. The crepe will start to cook almost immediately, and the edges will become golden in color. Keep an eye on the crepe as it cooks, and once the bottom side is cooked through and lightly golden, it’s time to flip!
Step 4: Flip the Crepe
Using a thin spatula, carefully slide it under the crepe to loosen it from the pan. Then, gently flip the crepe over. The flipped side should have a beautiful, golden, lacy appearance. Cook the crepe for an additional 30 seconds, or until the bottom side is cooked through.
Once the crepe is cooked, transfer it to a clean cutting board or a plate. Repeat the process with the remaining batter until you’ve cooked all the crepes. You may find that the second crepe looks even better than the first, as crepe-making can take a little practice to master.

Filling and Folding the Crepes
Now that your crepes are cooked to perfection, it’s time to get creative with the fillings and folding techniques. Here’s how you can fill and fold your crepes:
Step 1: Choose Fillings
The filling options for crepes are virtually endless. You can go for sweet fillings like Nutella, fresh fruits, whipped cream, or even a drizzle of chocolate sauce. For a savory twist, fill your crepes with ingredients like cheese, vegetables, or smoked salmon. The choice is yours!
Step 2: Place Fillings on Crepe
Once you’ve selected your fillings, place them on one half of the cooked crepe. Be mindful not to overfill the crepe, as it may make it difficult to fold.
Step 3: Fold the Crepe
Fold the crepe in half to cover the fillings. You can also fold it into a quarter by folding it in half again. The goal is to enclose the fillings within the crepe, creating a neat and delicious package.
Feel free to experiment with different folding techniques based on your preference or presentation style. From rolling and folding to creating fan-like shapes, there’s no limit to the creative ways you can fold your crepes.
Decorating the Crepes
Once your crepes are filled and folded to perfection, it’s time to add the finishing touches. Here are some simple steps to decorate your delicious crepes:
Step 1: Use Berries
Fresh berries like strawberries, raspberries, or blueberries can add a burst of color and freshness to your crepes. Arrange a few berries on top of your crepes to give them an inviting and visually appealing look.
Step 2: Sprinkle Powdered Sugar
For an extra touch of sweetness, sprinkle powdered sugar over your crepes. The powdered sugar not only adds flavor but also enhances the overall presentation of the crepes. Dust the crepes lightly with powdered sugar using a sieve or a shaker.
The combination of berries and powdered sugar creates an irresistible visual appeal and adds the perfect finishing touch to your homemade crepes.

Recommended Accompaniments
To elevate your crepe experience, we recommend serving them with some tasty accompaniments. Here are two delicious options:
Sour Cream
Sour cream pairs wonderfully with sweet or savory crepes, adding a creamy and tangy element to the dish. The coolness of the sour cream complements the warm and delicate crepes, creating a perfect balance of flavors.
Homemade Strawberry Sauce
To enhance the sweetness of your crepes, homemade strawberry sauce is an excellent choice. Made with fresh and juicy strawberries, this sauce adds a burst of fruity flavor to every bite. Drizzle the sauce over your filled and folded crepes for a delightful taste sensation.
These accompaniments provide a delightful contrast of flavors and textures, taking your crepe experience to the next level.
Equipment Needed
While making crepes may seem intimidating, it’s actually quite simple and can be done with basic equipment. Here’s what you’ll need:
Blender
A blender is essential for blending the crepe batter and ensuring a smooth and lump-free mixture. If you don’t have a blender, you can use a whisk and a large mixing bowl to combine the ingredients manually. However, using a blender significantly simplifies the process.
Regular Nonstick Skillet
A regular nonstick skillet is perfect for cooking crepes. Its nonstick surface helps prevent the delicate crepes from sticking and makes flipping them a breeze. If you don’t have a nonstick skillet, you can use other pans mentioned earlier, such as cast iron pans or specially designed crepe pans.
These two essential pieces of equipment will enable you to make perfect crepes without any hassle.

Conclusion
Congratulations! You’ve now mastered the art of making perfect crepes. From blending the batter to choosing the right pan and cooking the crepes to filling, folding, and decorating, each step contributes to creating a delightful crepe experience. Whether you prefer sweet or savory fillings, the possibilities are endless when it comes to creating your own unique crepe creations.
Remember, practice makes perfect, and once you’ve made a few batches of crepes, you’ll find that the process becomes easier and more enjoyable. So gather your ingredients, whip out your blender, and get ready to impress your friends and family with your newfound crepe-making skills. Happy cooking!